How to Grow Autoflowering Cannabis Outdoors | Complete Grow Guide


How to Grow Autoflowering Cannabis Outdoors for Maximum Yields
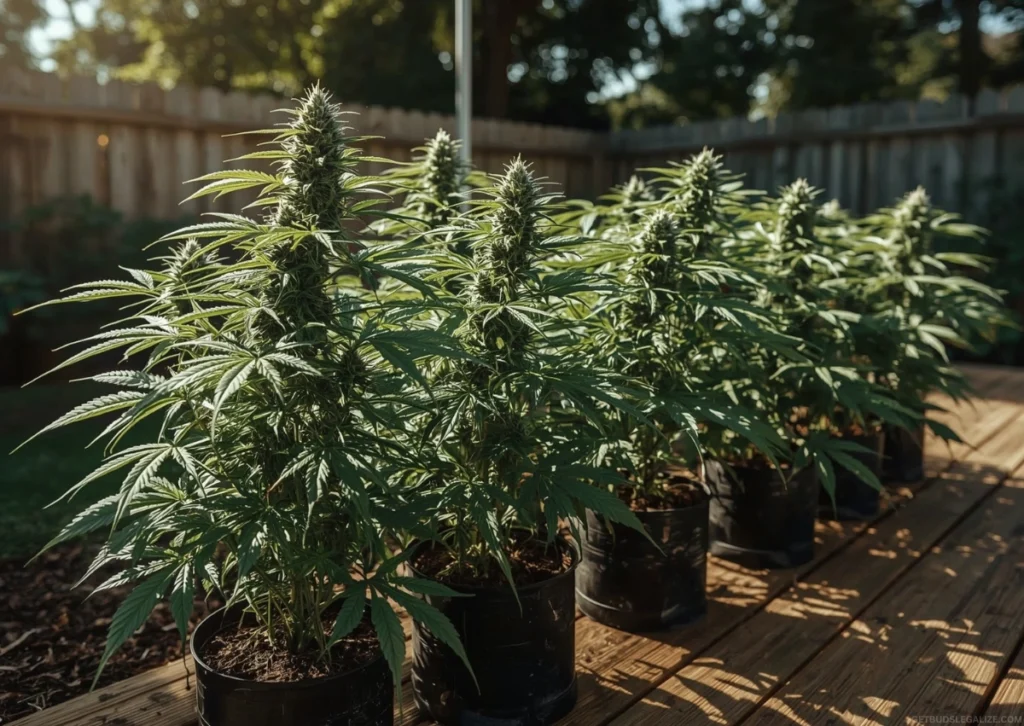
Beginner-Friendly Grow GuideGrowing autoflowering cannabis outdoors is not only possible — it’s incredibly rewarding. Whether you’re working with a balcony, a backyard, or a hidden patch of soil, growing outdoors gives your plants access to natural sunlight and airflow, often resulting in rich, flavorful buds with less effort than indoor setups. And the best part? Autoflowers make it easy.
These fast-growing strains flower with age — not light cycles — meaning you can enjoy multiple harvests a year with minimal intervention. Their compact size and natural resilience make them ideal for outdoor setups of all sizes, climates, and experience levels.
Let’s walk through every stage of a successful outdoor grow — from picking the right spot to harvesting sticky, potent buds.
 Table of Contents
- Why Grow Autoflowers Outdoors? (And What to Watch Out For)- Step 1: Plan Your Grow Site Like a Pro
- Step 2: When Should You Plant Autoflowers Outdoors?
- Step 3: Germination and Transplanting Autoflower Seeds
- Step 4: Choosing the Right Containers, Soil, and Nutrients
- Step 5: Watering Autoflower Cannabis Outdoors
- Step 6: Pest and Disease Management
- Step 7: Maximizing Outdoor Autoflower Yields
- Step 8: Harvesting and Post-Harvest Tips
- Final Thoughts: Your Outdoor Autoflower Journey Starts Here
- FAQs
🌞 Why Grow Autoflowers Outdoors? (And What to Watch Out For)
Before you dive in, let’s explore why autoflowers are so popular for outdoor cultivation—and what limitations to keep in mind.
🌱 Autoflower Benefits
✅ Rapid Growth: Autoflowers typically finish in just 8–10 weeks, allowing for 2–3 harvests per season in warm climates.
✅ Compact and Stealthy: Small size and fast growth make them perfect for balconies, patios, or guerrilla grows.
✅ No Light Schedule Needed: They flower automatically with age—no need to manage light cycles or cover plants.
✅ Resilient Genetics: Bred for strength against pests, mold, and bad weather—great for unpredictable climates.
- ✅ Beginner-Friendly: Minimal training, fewer nutrients, and very forgiving—ideal for new growers.
⚠️ Autoflower Considerations
⚠️ Smaller Yields per Plant: They’re smaller, so individual yield is lower—but frequent harvests can offset this.
⚠️ Limited Training Time: Their speed means you’ll need to stick with Low-Stress Training (LST) only.
- ⚠️ Fast Growth = Less Room for Error: Mistakes early on—like overwatering or transplant shock—can drastically stunt growth. Prep is crucial.


Step 1: Plan Your Grow Site Like a Pro
The first step to a successful outdoor grow is selecting and preparing your site. Outdoor factors—such as sun exposure, climate, soil, and location—play a critical role in determining the success of your plants. With the rapid life cycle of autoflowers, there’s little room for error in the early stages.
🌤️ Climate and Weather ConditionsAutoflowers thrive best in stable, moderate climates with daytime temperatures between 18–28°C (65–82°F). While cooler nights are usually manageable, temperatures below 10°C (50°F) can slow growth and negatively impact plant health.
Extreme heat — especially temperatures consistently above 32°C (90°F) — can lead to plant stress, slower development, and smaller yields.
Avoid planting in spots prone to frost, particularly during early spring or late autumn. Even a brief cold snap can damage young plants or delay early growth stages.
In climates with high humidity or frequent rain, excess moisture can promote mold and mildew. To reduce this risk, choose resilient autoflower strains bred for damp conditions and environmental stress.
☀️ Sunlight ExposureWhile autoflowers do not rely on light cycles to trigger flowering, they still need ample sunlight for healthy growth and high yields. Ideally, your plants should receive 6–10 hours of direct sunlight per day, particularly during peak growth and flowering stages.
- 📍 Choose a south-facing location for maximum exposure.- 🌳 Avoid shade from trees, fences, or buildings during daylight hours.
- 🔆 More sunlight means healthier plants and less reliance on extra feeding.
- 🏞️ Use secluded locations for privacy.
- 🌿 Practice companion planting with herbs like basil, rosemary, or marigolds to camouflage your plants.
- 🦝 In remote or guerrilla plots, protect against wildlife and legal issues.
Related Article:
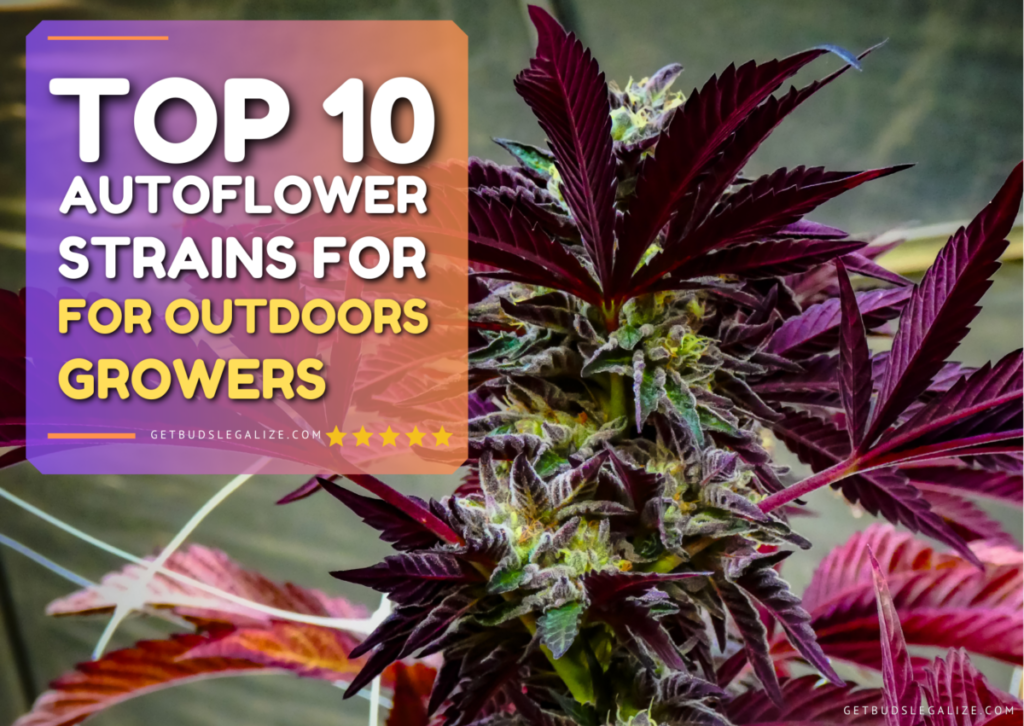
Top 10 Best Autoflower Strains for Outdoors Growers


Step 2: When Should You Plant Autoflowers Outdoors?
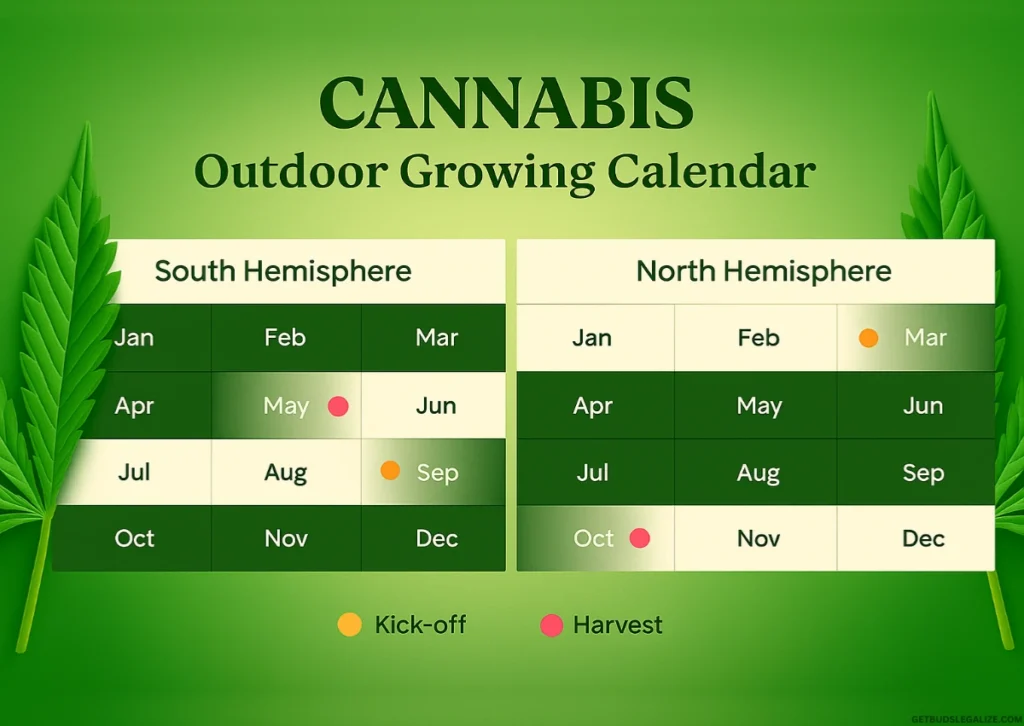
Autoflowers can be planted at almost any time of the year, depending on your climate. However, timing your planting is crucial for maximizing yields and ensuring your plants grow at their best.
🌴 Frost-Free Regions (Tropical and Mediterranean Climates)In warm, frost-free areas, such as southern California or Thailand, autoflowers can be planted year-round. This flexibility allows for multiple harvests in a single season, maximizing your potential yield by taking full advantage of long, sunny days.
- 🌞 Key benefit: Multiple harvests per year.- 📍 Best suited for: Tropical or Mediterranean climates with warm, stable weather year-round.
- 🗓️ Ideal planting window: Late April to early July.
- ☀️ This ensures maximum sunlight before cooler autumn temperatures arrive.
- 🌱 First Crop: Germinate in April and harvest by June.
- 🌱 Second Crop: Germinate in July and harvest by September.
- 🌱 Third Crop: Germinate in October and harvest by December (if climate allows).
This approach keeps your supply fresh and ensures consistent harvests throughout the growing season, allowing you to get the most out of your available space.
Related Article:

Learn How to Grow Autoflowers Week by Week: Full Grow Guide


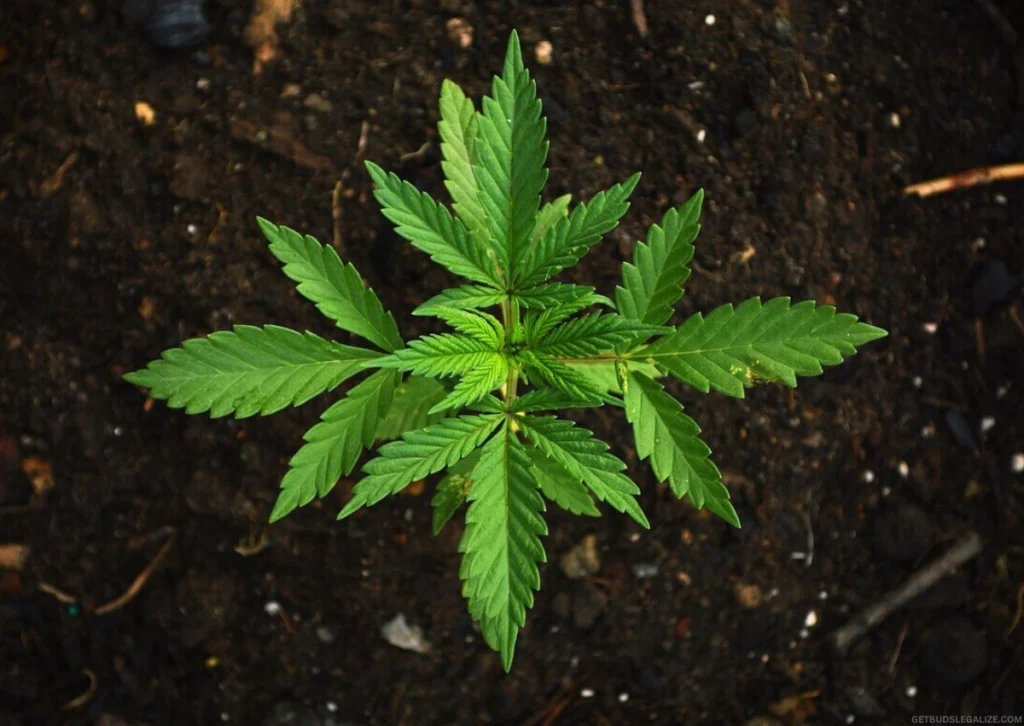
Step 3: Germination and Transplanting Autoflower Seeds
The germination process is a critical stage in the growth of your autoflowering plants. Autoflowers have little time to recover from mistakes, so it’s essential to get it right from the very start.
🌱 Germination MethodsThere are several reliable methods for germinating autoflowering cannabis seeds. The two most popular methods are the paper towel method and the glass of water method. Both are simple and effective when done correctly.
1. Paper Towel Method- Place the seed between two moist paper towels.- Store the towels in a warm, dark location (such as a drawer or cupboard).
- Check regularly for the emergence of the taproot. This typically takes 1–3 days.
- Soak the seed in clean, room-temperature water for up to 24 hours.
- Once a crack appears or a tiny root tip emerges, the seed is ready to be planted or transferred to a germination setup.
✅ Tip: After soaking, you can place the seed directly into the soil once it has cracked, or continue to the paper towel method to encourage the taproot to grow longer.
🌿 Direct Planting vs. TransplantingFor autoflowers, it’s best to plant directly into their final container or growing space to avoid transplant stress. Transplanting can cause root disturbance and slow growth, which is especially detrimental for autoflowers due to their quick life cycle.
However, if transplanting is necessary, it should be done as early as possible, ideally before the third node appears. This minimizes the shock and gives the plant enough time to settle in its new environment.
Related Article:
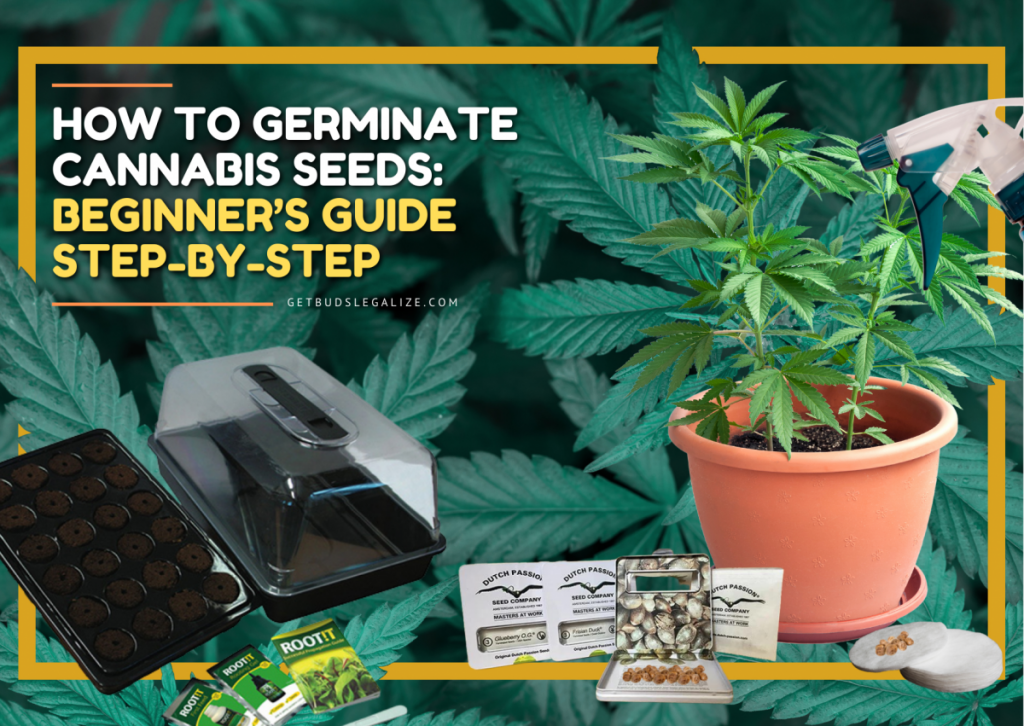
How To Germinate Cannabis Seeds: Beginner’s Guide Step-by-Step


Step 4: Choosing the Right Containers, Soil, and Nutrients for Autoflowers
Selecting the right container, soil, and nutrients is essential for maximizing the growth potential of your autoflowering cannabis plants. Let’s break down the key elements:
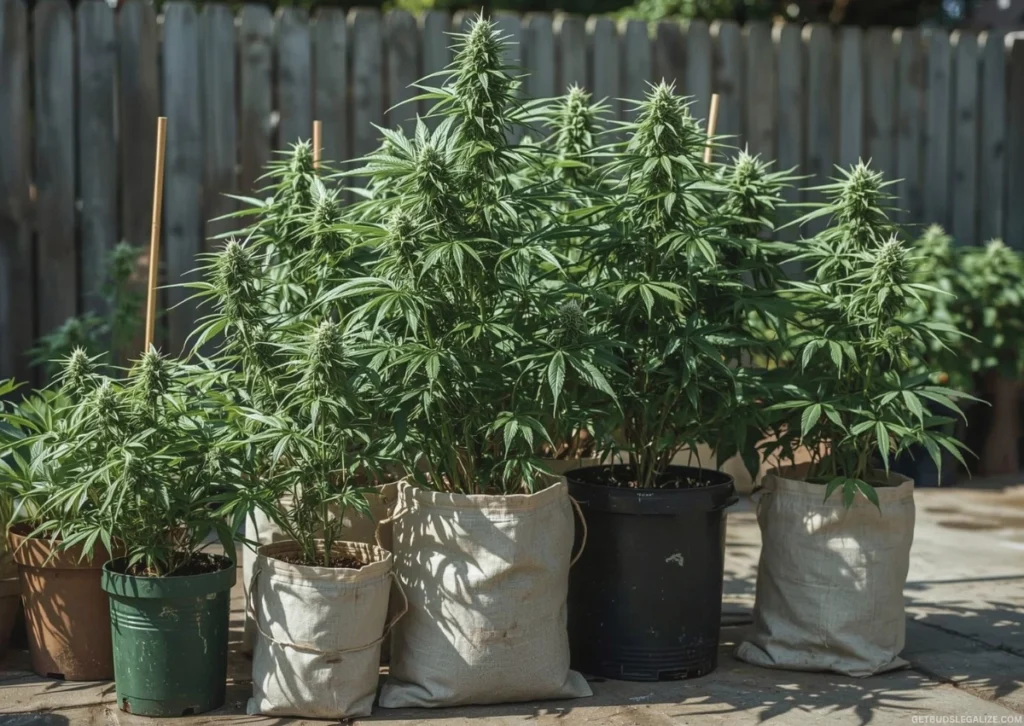
🪴 ContainersThe size of the container is crucial when growing autoflowering cannabis. Autoflowers don’t require large pots, but they still need enough space for their roots to develop properly.
- 📏 Recommended Size: Use pots between 7–15 liters (2–4 gallons) to give roots enough space without risking overwatering or oversized growth.- 🧺 Why Fabric Pots Work Best: They allow better airflow, promote healthy root pruning, and improve drainage—making them ideal for autoflowers.
- 💧 Moisture Retention: Use ingredients like peat moss or coco coir to retain moisture without making the soil overly saturated.
- 🌬️ Aeration: Add perlite or pumice to your soil mix to ensure good drainage and root oxygenation. This helps prevent waterlogging and root rot.
- 🌿 Organic Nutrients: Incorporating organic compost into the soil mix can provide a slow-release source of nutrients throughout the plant’s lifecycle.
- 🌱 Start slow: Begin with ¼ to ½ strength of a balanced nutrient mix to avoid overwhelming the plant in its early stages.
- 🌸 Switch for flowering: As your plants enter the flowering stage, switch to a high-phosphorus (P) and potassium (K) nutrient mix.
✅ Tip: During the vegetative stage, autoflowers can survive with minimal feeding. Focus on providing essential micronutrients like calcium, magnesium, and iron.
Related Article:
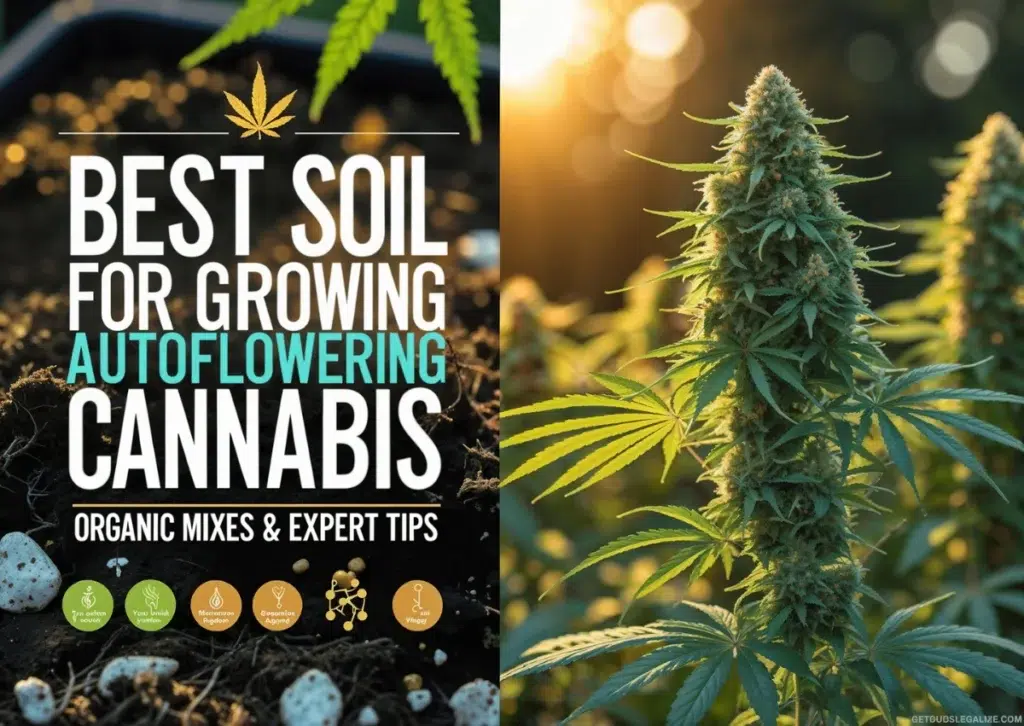
Best Soil for Growing Autoflowering Cannabis: Organic Mixes & Expert Tips


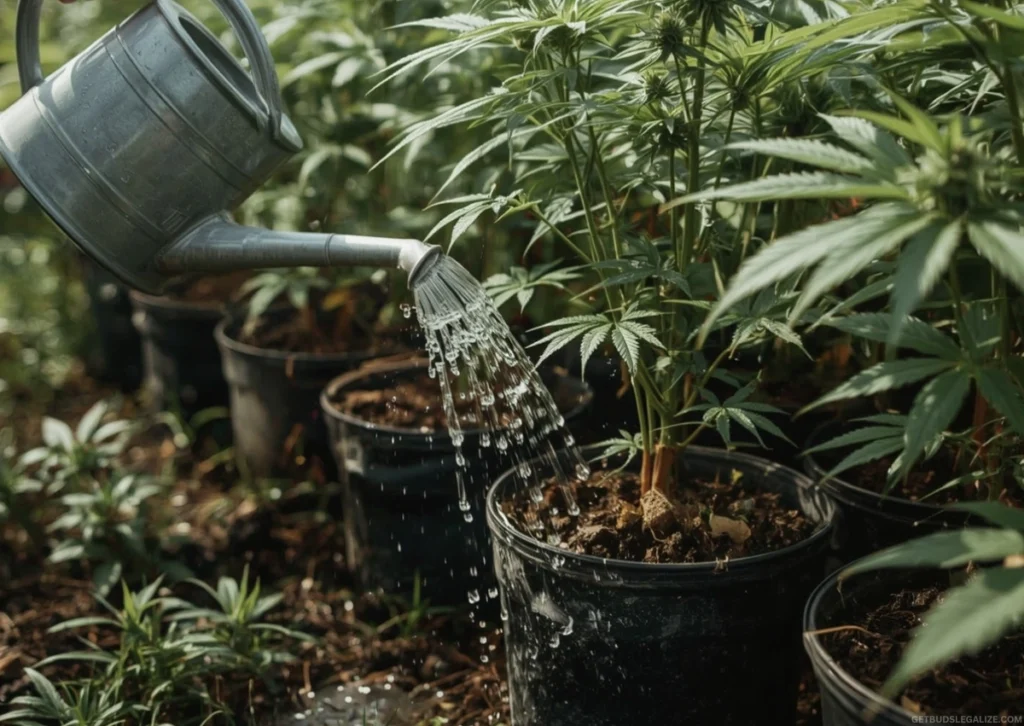
Step 5: Watering Autoflower Cannabis Outdoors
Watering your outdoor autoflowers correctly can make or break your grow. These fast-growing plants are sensitive to overwatering and underwatering, so finding the right balance is key.
Here’s how to keep your soil moist (but never soggy), encourage strong roots, and help your plants thrive in changing outdoor conditions:
1. The Finger Test: A Simple Yet Effective MethodOne of the easiest and most effective ways to check soil moisture is the finger test.
- Insert your finger around 2–3 cm (1 inch) into the soil.- If it feels dry, go ahead and water.
- If it still feels moist, hold off and check again later.
- Autoflowers prefer moist soil, but they don’t like to be waterlogged.
- Ensure that your containers or garden beds have excellent drainage.
- Hot, dry weather: You may need to water once or twice a day.
- Cooler or humid climates: Water less frequently; the soil retains moisture longer.
- Apply Mulch: A 2–3 cm (1 inch) layer of mulch (straw, bark, or dry grass clippings) helps keep the soil moist, reduces evaporation, and insulates the root zone.
- Use Rainwater if Possible: Rainwater lacks the chlorine and salts found in tap water that can build up in the soil over time.
- Consider a Moisture Meter: For precision growers, a moisture meter can remove guesswork and ensure accuracy in changing weather. https://getbudslegalize.com/how-to-grow-autoflowering-cannabis-outdoors/


Commenti
Posta un commento