Learn How To Grow Autoflowers Week by Week: Full Grow Guide


Learn How To Grow Autoflowers Week by Week: The Complete Guide to Growing Cannabis Fast
Autoflower cannabis strains offer a fast, beginner-friendly way to grow high-quality weed without the complications of light schedules or long veg times. These hardy, fast-growing plants deliver impressive results in a short window—some racing from seed to harvest in just 8 weeks.
Whether you're growing your very first plant or looking to streamline your process, learning how to grow autoflowers week by week can help you avoid common pitfalls, increase yields, and enjoy a more predictable grow from start to finish.
In this complete guide, we’ll walk through every stage of the autoflower life cycle—from seed germination to final harvest—offering weekly insights and pro tips to help you grow with confidence.
Table of Contents:- Seed to Harvest: How Long Autoflowers Really Take- Understanding Autoflower Light Cycles
- The Importance of Soil pH in Autoflower Cultivation
- The Week-By-Week Autoflower Grow Guide
- Common Autoflower Mistakes to Avoid
- Final Thoughts
- FAQs
Seed to Harvest: How Long Autoflowers Really Take
Most autoflower strains grow from seed to harvest in about 8 to 10 weeks, making them one of the quickest cannabis types to cultivate. Some ultra-fast varieties like Bubble Gum XXL Auto or Purple Punch Auto are ready to harvest in as little as 8 weeks, while others—such as Melonade Runtz Auto or Granddaddy Purple Auto—may take closer to 11–12 weeks.
These strains are popular for their short grow cycle, small stature, and ability to thrive even in less-than-ideal environments. Their genetic makeup includes Cannabis ruderalis, a hardy subspecies known for its ability to survive in tough conditions. This gives autoflowers a natural resistance to pests, pathogens, and colder weather, making them ideal for both indoor and outdoor grows.
Related Article:
Top 10 Best Autoflower Strains for Outdoors Growers
Understanding Autoflower Light Cycles
Autoflowers plants on their own schedule, independent of any changes in light cycle. This means you can keep your autoflowers under an 18/6 light schedule (18 hours on, 6 off) from seedling to harvest. Some growers even opt for a 24/0 cycle, hoping to boost growth by giving their plants continuous light, though this can raise electricity costs.
This trait also makes autoflowers perfect for multiple harvests per season in outdoor setups. If you stagger your planting early in the season, you could be harvesting fresh buds every couple of weeks throughout spring and summer.
The Importance of Soil pH in Autoflower Cultivation
Soil pH might seem like a minor detail, but it can make or break your grow. Cannabis prefers a slightly acidic environment, with an ideal pH range of 6.0–6.5 in soil. When the pH drifts outside of this range, your plants may struggle to absorb essential nutrients—a condition known as nutrient lockout.
To avoid this, regularly monitor the pH of both your water and runoff using a reliable digital pH meter. Keeping the pH in check ensures smooth nutrient uptake and vibrant plant health throughout the grow.
Related Article:
Best Soil for Growing Autoflowering Cannabis: Organic Mixes & Expert Tips


The Week-By-Week Autoflower Grow Guide
Below, we’ll take you through a week-by-week breakdown of the entire autoflower growing process. These weekly insights are tailored to indoor growers using soil, though outdoor growers can adapt the same principles to fit their setups.
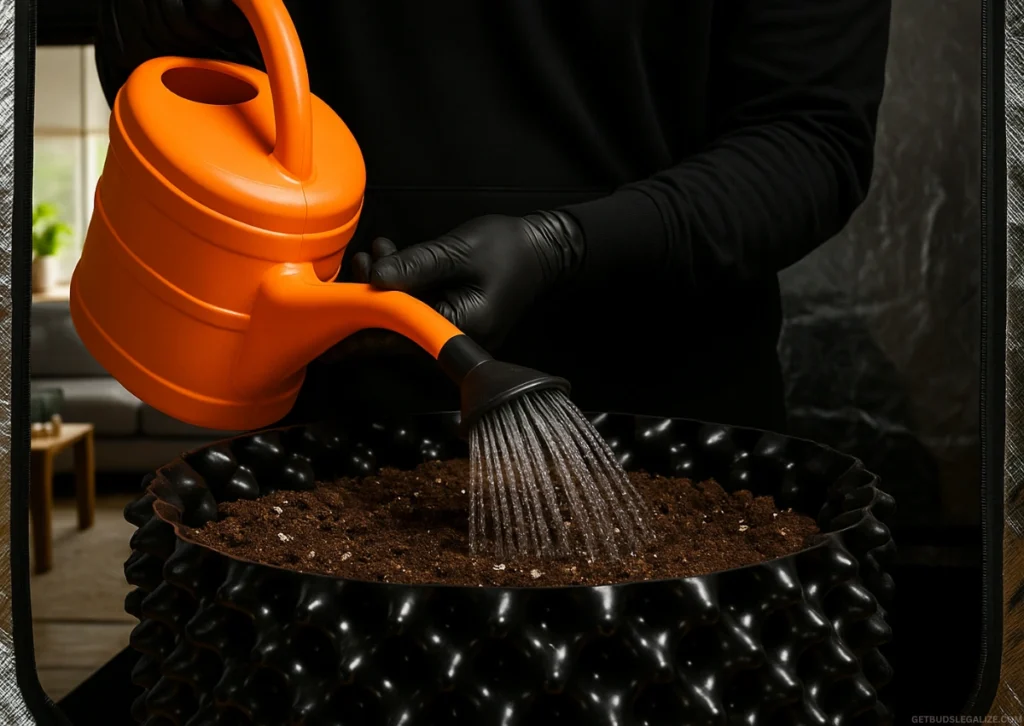
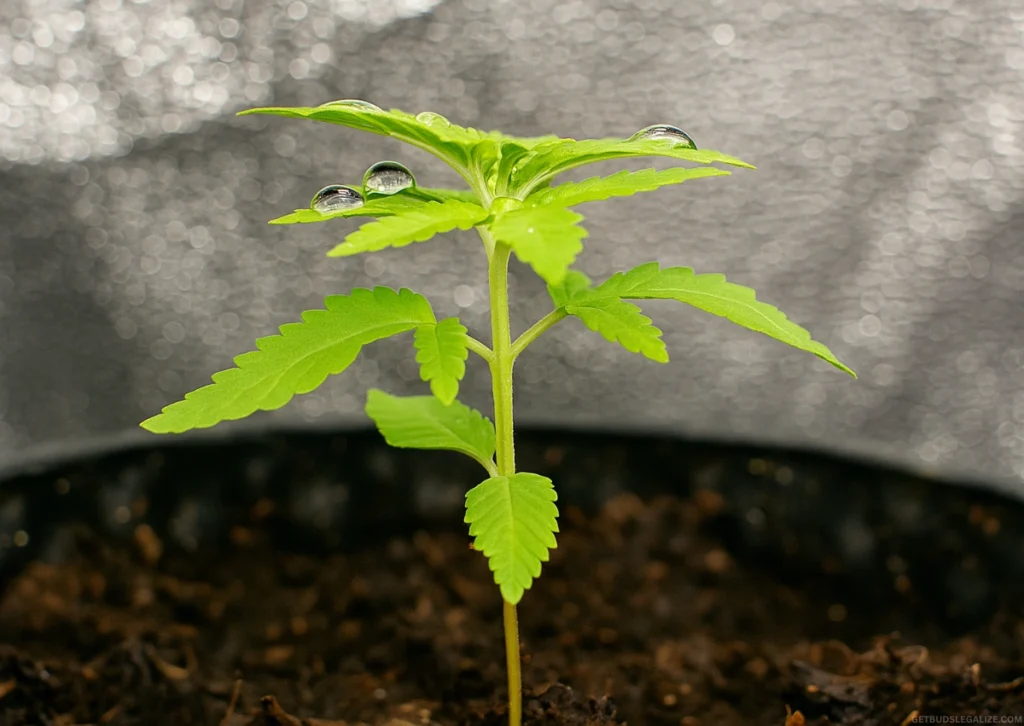
Week 1: Germination & Early Seedling Stage ~ Laying the FoundationYour autoflowering cannabis journey begins here, and this first week is all about setting the stage for healthy, vigorous growth. Germination typically takes between 1 to 3 days, depending on your method—whether it's the classic paper towel technique, starter plugs, or direct sowing into soil.
Once the seed cracks open and the taproot appears, it should be planted (if not already) in its final container. Autoflowers grow quickly and do not tolerate transplanting well, so go with a pot size of 11–15 liters from the start.
When the seedling emerges, it enters its early growth phase. This is a delicate stage—your plant is highly sensitive to overwatering, temperature changes, and poor-quality soil.
✅ Targets This Week:
ParameterDetailsTemp22–25°CHumidity70–90%Light250W LED on 18/6 scheduleWaterMist lightly; avoid overwateringAdditivesMycorrhizal fungi + Easy Boost pellets
You should see cotyledons (first leaves) appear, followed by the first set of serrated true leaves. Don’t be alarmed by slow growth—it’s busy developing below the soil.
Related Article:

Why and How to Use Mycorrhizae Fungi in Your Cannabis Garden
Week 2: Late Seedling Stage ~ Rooting & Leaf Development
Week 2 brings faster leaf production and stronger stem development. Your seedling will look sturdier, with multiple nodes forming and early signs of branching. The root zone is expanding, and the plant is starting to demand more water and nutrients.
Start introducing light nutrients, especially if you’re using an organic soil that doesn’t contain much nitrogen. Something like Bergman's Seedling Fertilizer or diluted seedling fertilizer (¼–½ strength) is ideal.
✅ Targets This Week:
ParameterDetailsTemp22–24°CHumidity60–70%Light Distance70–100 cmWater250–500 ml per dayFeedSeedling fertilizer (¼–½ strength), 2x/week
Monitor leaf color and posture. A healthy plant will be green, upright, and developing evenly spaced leaves. Signs of nutrient imbalance should be corrected early before the plant enters faster vegetative growth.
Related Article:

Common Cannabis Deficiencies: How to Identify, Prevent and Fix Them


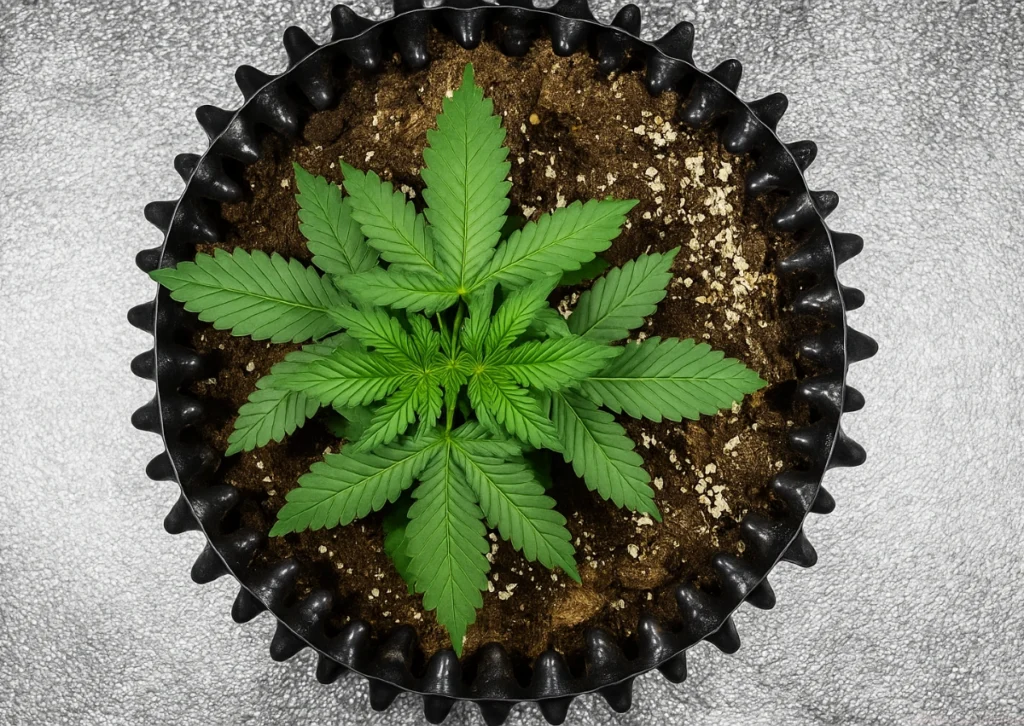
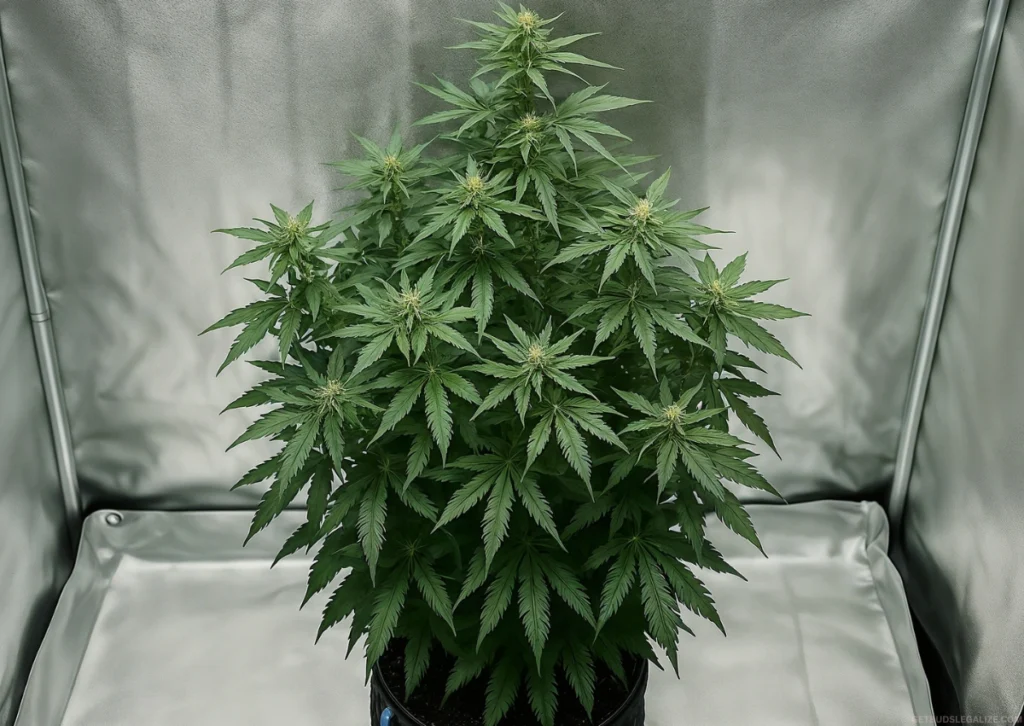
Week 3: Early Veg Stage ~ Let the Growth Begin
Now the magic starts. Your plant shifts into a rapid growth phase, reaching heights of 10–20 cm and developing larger fan leaves. You’ll also begin to see early side branches forming from lower nodes.
This is the perfect time to begin Low-Stress Training (LST). Gently bending the main stem outward and securing it encourages bushier growth and exposes more bud sites to light. Avoid topping or cutting—autoflowers grow too fast to recover.
✅ Targets This Week:
ParameterDetailsTemp~20°CHumidity50–60%Light Height60–80 cmWater500–700 ml/dayFeedBergman's Growtime Fertilizer, 2x/weekTrainingBegin LST; adjust every few days
Rotate your pot every few days to even out stretch. Your plant should be sturdy, symmetrical, and branching nicely.
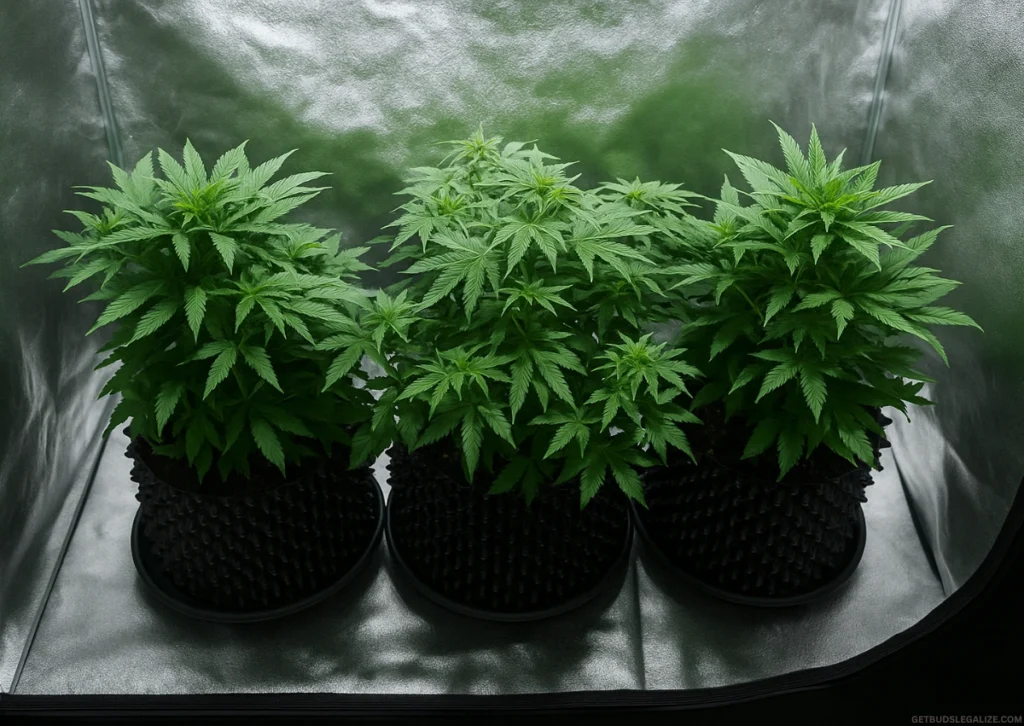
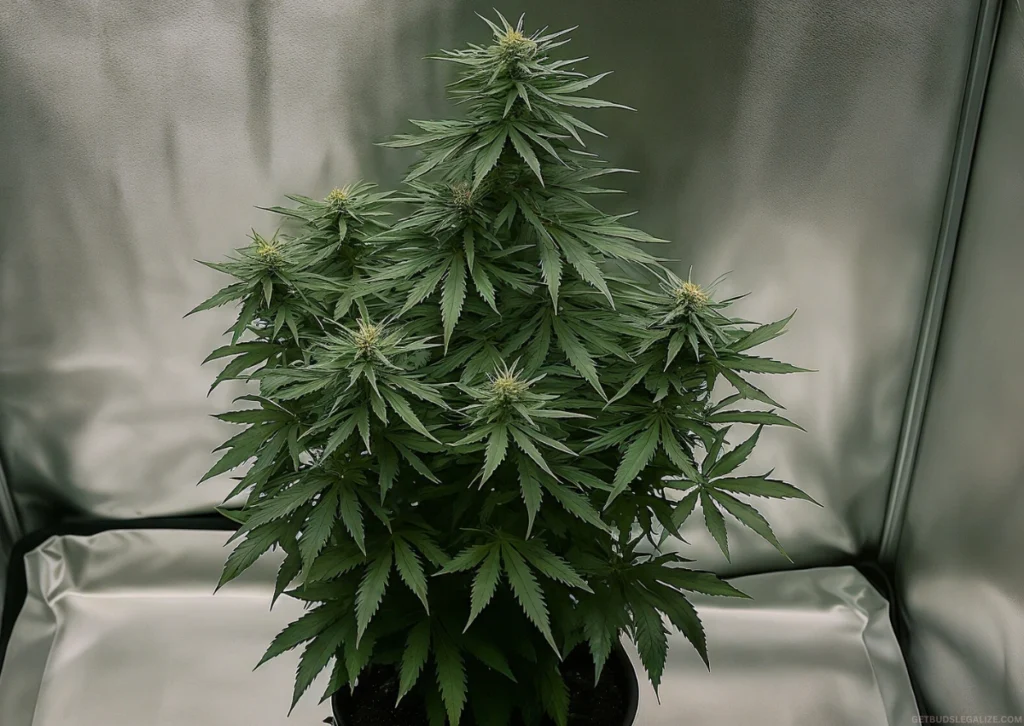
Week 4: Late Veg Stage ~ Structuring & Stacking
By week 4, your plant is likely 20–30 cm tall, and you may notice the first pre-flowers—tiny white hairs (pistils) at the nodes. This means flowering is around the corner.
This week is your last chance to complete any training. Finalize LST and lightly prune any fan leaves blocking light to key bud sites. Avoid any high-stress techniques, as the plant is now focusing its energy on flowering.
✅ Targets This Week:
ParameterDetailsTemp20–22°CHumidity45–50%Light60–70 cm from the canopyWater0.7–1 L/dayFeedContinue Bergman's Growtime Fertilizer, 2x/weekTrainingLight pruning only
An even canopy with lots of light exposure will pay off in the next phase—flowering.
Related Article:
Pruning Cannabis Plants – Why, When and How: Complete Guide


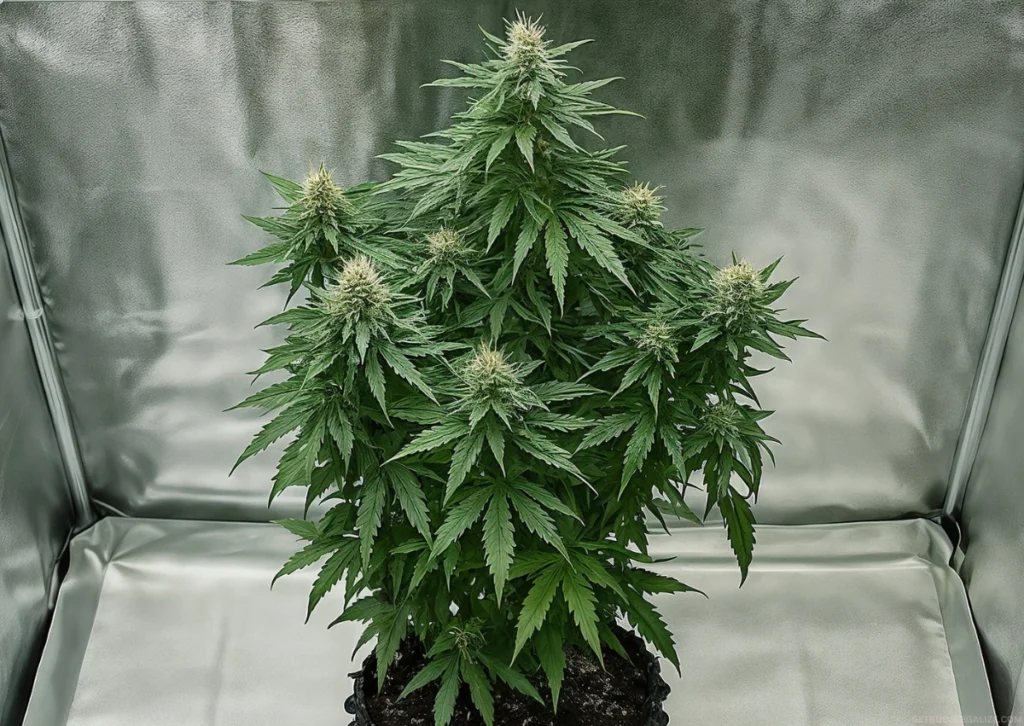
Week 5: Flowering Phase Begins ~ Bud Initiation Phase
Welcome to the flowering stage! Your plant begins forming white pistils in clusters, and you’ll see a noticeable stretch in height as energy shifts toward bud development.
Switch to a bloom nutrient formula higher in phosphorus and potassium, like Bergman's Flowertime Fertilizer. If your LED allows, shift to a red-heavy light spectrum to stimulate flowering.
✅ Flowering Week Targets:
ParameterDetailsTemp22–24°CHumidity45%Light60–65 cm from the canopyWater1 L/dayFeedBergman's Flowertime Fertilizer, 2x/weekSpectrumRed-heavy if possible
You’ll start to smell a sweet, grassy aroma—a preview of what’s to come.
Week 6: Mid-Flowering ~ Resin & Aroma Explosion
Now your grow room really starts to smell amazing. Buds are swelling, and a frosty layer of trichomes is forming across flowers and sugar leaves. Aromas intensify as your plant develops its terpene profile.
Focus on maintaining a dry, well-ventilated space. Flowering brings higher humidity risks—especially in thick canopies—so keep airflow strong.
If the smell becomes too strong, consider installing a carbon filter to reduce odors and help with air exchange.
✅ Flowering Week Targets:
ParameterDetailsTemp24°CHumidity40%Light45–55 cmWater1.5 L/dayFeedBergman's Flowertime Fertilizer, 3x/weekOdorInstall a carbon filter if needed
Inspect for hermaphrodite signs. If you see pollen sacs, remove them immediately to prevent seeded buds.
Related Article:

Do Terpenes Enhance Your High? The Role of Terpenes in Cannabis


Week 7: Flower Fattening & Maintenance
At this stage, the structure of your plant is fully developed, and your primary task is to keep everything stable and healthy. Monitor closely for nutrient imbalances, pests, or signs of mold. Most late-stage issues are tied to pH fluctuations, so make sure to test your runoff frequently to keep it within the optimal range.
By now, your buds should be dense, sticky to the touch, and glistening with trichomes—a sign that resin production is peaking. If anything seems off, act quickly.
https://getbudslegalize.com/how-to-grow-autoflowers-week-by-week-guide/

Commenti
Posta un commento